
Ok, I don't know an Alice or Desiree. But if you do and would like to create a name banner for them just like how I did for my friend Jenny, here's how!
First, here's the list of items I used on this banner besides my adhesives: Mixed Scallop Triangle Banner Album, Bubblegum Metallic Mist, Glitters (Pink, Cherry Red, Iridescent and Sea Green), patterned papers, New York Lowercase Alphabet, Butterfly Chipboards, Die Cut Kraft Doilies, Vintage Pearl Trinket Pins, Leaves, buttons, paper flowers, Sizzix-ed 3-D Fringed flowers, Prima crystal swirls, self-adhesive pearls.
Let's begin creating our Jenny banner!
1. Mist the scalloped edges of your Banner Album pages with Bubblegum Metallic Mist (or any color that coordinates with your glitter color). Glitter the scalloped edges after mist has dried. Set aside pages to dry/set.

2. Paper the straight-edges pages with patterned paper.

3. Glitter your chipboard alphas with Maya Road's Iridescent glitter. After dried, mat each alpha on cardstock.

4. Glitter your Chipboard Butterflies. ps: Maya Road's Cherry Red and Sea Green glitters are my absolute-st fav glitter colors, if you haven't already noticed.

5. Begin assembling each straight-edged page that was papered earlier. Begin with a base of Maya Road's Kraft Doily (cut half here), a Sizzix fringed flower, Leaves, glittered Butterfly Chipboard and a glittered Alpha. I love that Sizzix flower because you can embellish the centre with anything! Here, I pulled out my jar of buttons and layered some on top of each other. Lurve!
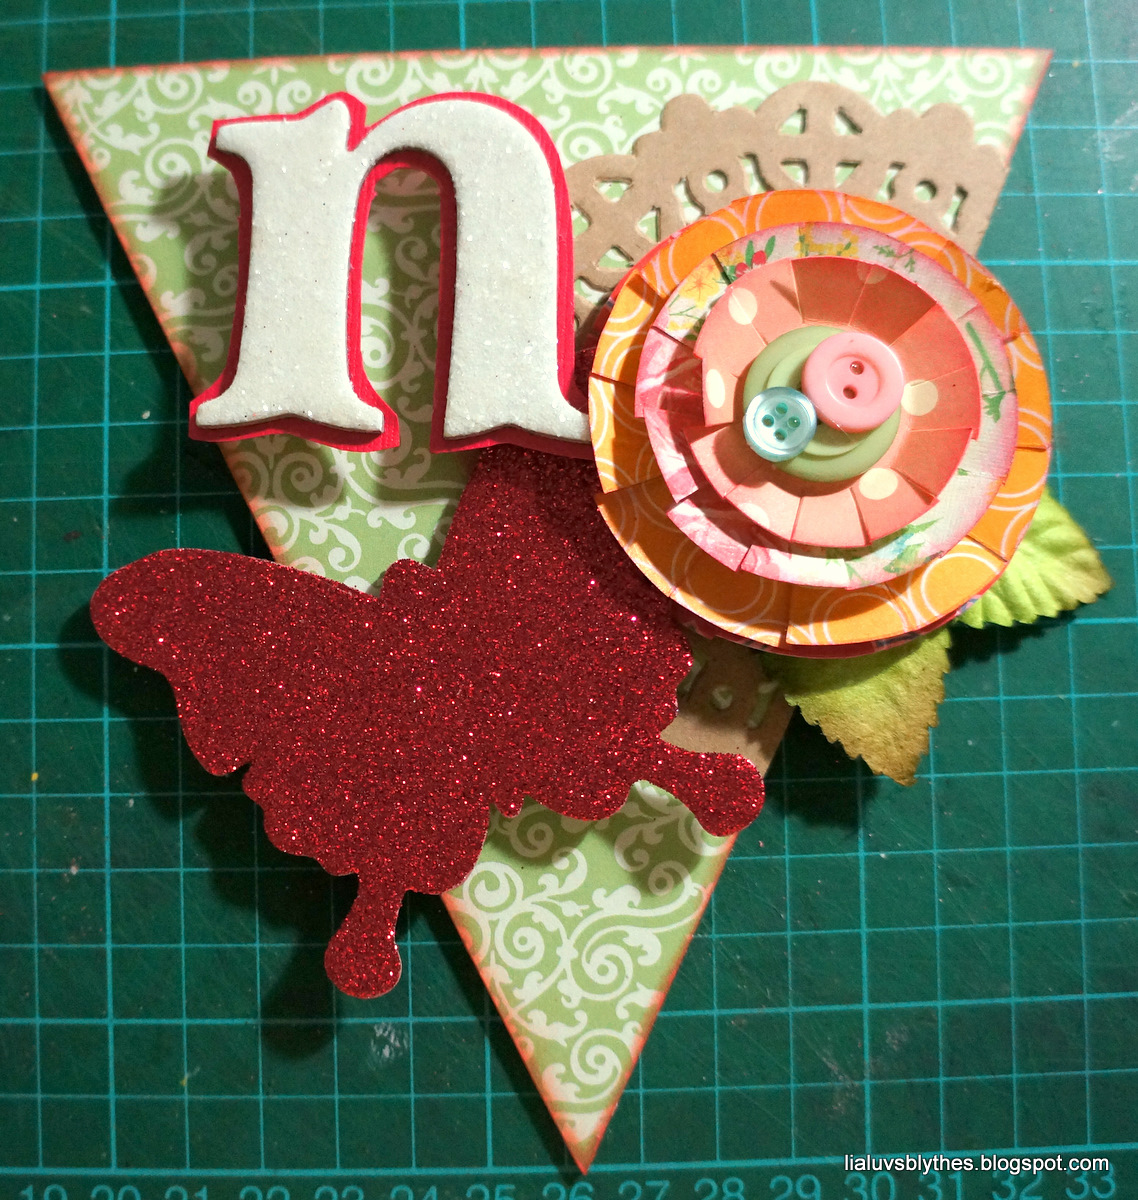
6. Add some paper flowers to fill out the empty spaces.

7. Add some bits of Prima crystal swirls and self-adhesive pearls on the glittered butterfly. Push a Trinket Pin into the fringed flower.

8. Once you are happy with your assembly, pop up your embellished page on a glittered scalloped edge page.

9. Embellish each page using the same materials with slight variations. For Jenny's banner, some pages used whole Kraft Doilies, some had one Chipboard Butterfly while others had two. A little variety makes an interesting banner.
10. Join finished pages using ribbon bows and hang up completed banner to enjoy!

Oh if you'd like a great deal on a Maya Road Mixed Scallop Triangle Banner Album, all the Maya Road stuff in my Scrapbook Stash for Sale are going at a one-for-one offer. And yes, I have a couple of those Banner Albums (Item MR141) there too!
I hope you've enjoyed the above tutorial!
xo

ps. Of course you can recreate above steps for any name. Not just Jenny, Alice or Desiree. lol.
2 comments:
That's sososo nice!!!!! From: Jasminah..hehe!
I love your blog!!It is fantastic!
Post a Comment